Planning a Dolomites Photography Trip
- Jul 13, 2025
- 7 min read
Updated: Sep 12, 2025
This article is part of the Complete Guide to Photography in the Dolomites

The Dolomites are an incredible mountain range for photography, and you can design any number of routes around these peaks, using a huge network of hiking trails, roads, and cable cars. Sometimes, the geography of a region makes designing a trip itinerary simpler, as we follow the landscape naturally from one place to the next. However, photography in the Dolomites is more scattered, and it’s difficult to identify a single route that can work for every trip.
Most importantly, photography in the Dolomites is driven by the conditions, and you’ll need to constantly adapt your plan to visit the right location for the weather. If you define your itinerary too closely, you’ll end up in the wrong place at the wrong time, shooting the tops of mountains in the clouds or the alpine lakes during high winds.
A better approach is to choose a flexible base for your trip, and develop a list of potential locations that you can match to the conditions each day. This article describes how to build a flexible approach to photography that you can use to build your own itinerary as you go.
Bases | Research | Forecast | Structure | Conclusion
Dolomites Photography Bases

I recommend splitting the Dolomites into east and west, and choosing a single base from which to explore each part.
The most useful area to stay in the east Dolomites is the town of Cortina d’Ampezzo, which has great access in every direction and allows you to pick the right day to visit any location in the east.
The best place to stay in the west Dolomites is Val Gardena, especially around the town of Ortisei, which will give you access to anywhere in the west and allow you to plan each day according to the weather.
How you divide your time between the east and west can depend on your priorities, and this is a rough guide to how you might allocate your time:
6-10 Days - Reliable Locations
If you have less than 10 days in the Dolomites and want to visit the real photography highlights, the best approach is an even split between east and west. There are established locations that have been thoroughly researched by photographers in both areas, and you can reach some of the central spots from either side. Splitting your time equally between each side will give you access to enough rewarding locations to fill your trip with exciting places to shoot.
A shorter trip to the Dolomites will give you less time to explore and less insurance against bad weather. If you miss a great location, it’s unlikely you’ll get another chance on this trip. A trip of 10 days will be a little more flexible, and allow you some time to search for new locations and revisit your favourite spots.
10+ Days - Photography Focused
With more time, you can begin to prioritise either east or west depending on your preferences.
The east is better for high-altitude peaks and more intense hikes, and you may need extra time here if bad weather limits your movement or you want to reach remote locations. The terrain in the east has more deep valleys between towering cliffs and mountains.
The west is better for peaceful alpine valleys and longer hikes where you can explore in more depth. You can expect more open landscapes between the peaks, with gentle hikes between rifugios scattered across the meadows.
I still suggest a roughly even split between east and west, but you may want to spend slightly more time in the east or the west if you prefer one type of terrain over the other.
10+ Days - Exploration and Adventure
If you would prefer to focus on discovering original locations, you may want to split your time across three bases, including a visit to San Martino di Castrozza and the southern mountains.
You can find new areas to photograph in the east and west of the Dolomites, and there are incredible opportunities to explore new routes and create original compositions. However, fewer photographers focus on the south, and it can be easier to follow hiking routes that take you to more unusual places for photography.
Research Dolomites Photography Locations

For a dynamic itinerary that can be adapted to the weather, you need to understand your photography options. It may seem that planning a fixed itinerary would be more work, but choosing the best location for the conditions depends on having a strong understanding of what’s possible.
The more research you can do for a photography trip to the Dolomites, the more likely you are to choose the right spot for the light and discover original places to shoot. You can choose two central places to stay in the east and west without knowing much about the photography opportunities. However, the next phase of your planning should be to identify and create a list of various places you can reach from each base.
When researching locations, it helps to understand the logistics and weather requirements so you can get the most out of each spot. As you study options, focus on:
Timing. The right time to visit each location can be determined by the light or the access options. Some locations work best at sunrise, sunset, or on cloudy days, and you may want a separate list for places to visit at different times. High-altitude spots might require a cable car or a long uphill hike, so it’s helpful to know the route in advance if you plan to arrive for a sunrise shoot.
Hiking. Many photography locations in the Dolomites involve long or steep hikes, and clear mornings are a great time to tackle the more demanding pre-sunrise routes. Hiking requirements may be what helps you decide which place to visit on any given day.
Energy. If you’re planning to visit locations with challenging hikes, check the forecast so you can separate the more demanding days. Two or three pre-dawn treks at altitude can start to impact your energy and make it harder to be creative on location.
Forecast the Weather
To make the best decisions on where to visit and when, you need to maintain knowledge of the upcoming weather.
When you arrive in the Dolomites, check the 5-7 day weather forecasts and look for windows where you can take on a demanding hike, and other days where cloud and rain might obscure the peaks. Forecasts are always most accurate within 24 hours, but longer-range predictions can help you decide the initial structure for your visit.
Each day, you’ll need to update your plan as the forecast changes, looking for opportunities to take on the more challenging locations or ways to use the conditions when it is cloudy, windy, or wet. This is where having a good list of potential options can help you make the best decision on where to go when you understand what the weather might do.
Local forecasts are usually the most reliable source of information, and there are also specialist mountain weather services that account for variations in elevation. I mainly use the app Clear Outside, which does an excellent job of displaying cloud cover at three levels and makes it easier to predict what type of cloud you might encounter.
Structuring Each Day of Photography

The final part of building your dynamic itinerary is to develop a daily structure for your trip. While it can be tempting to simply go out and explore every morning, following the light and weather until you run out of energy, a structure can help you get the most from the time you have with the camera.
A good daily structure is based around the season and the light. In late autumn, when the days are shorter than 11 hours, it’s possible to plan for both sunrise and sunset in a single outing. In the height of summer, though, you may need to be on location by 4am, and shooting through to a 9pm sunset can be a challenge.
A good approach is to divide each day into sessions that work best for the season of your visit:
Sunrise. Sunrise is often the best time to photograph the Dolomites, and should be a priority for your visit. Most mountain locations work best in the pre-dawn twilight, and you should aim to be on location around 90 minutes before the sun comes up.
Post-sunrise shoot. If the light is still good after sunrise, this can be a great time to visit a second location and get a little more out of the morning. Going to a new location can be refreshing and help you spot new opportunities while conditions are still good.
Midday. It’s best to adapt the middle of the day to the season and conditions. If sunrise is very early during your visit, this can be a good time to rest and recover for the evening shoot. If the days are shorter, you may be able to shoot all day and find a location that matches the conditions. Look for open landscapes when you have broken cloud, and enclosed areas (like forests) for harsh light or overcast skies.
Afternoon. If the weather shifts to broken clouds and light shafts, the afternoon can be as rewarding as the best of sunrise or sunset. Afternoons are a good time to discover new locations, where you might capture a strong image in the right conditions, and also find more options for sunrise and sunset shoots later in the trip.
Sunset. It’s best to be on location at least an hour before the sun drops below the horizon, and allow enough time to capture at least an hour of twilight afterwards. Depending on the season, this may interfere with meal times, and it often helps to plan meals around the best light at the end of the day.
Planning a Dolomites Photography Trip

A successful photography shoot in the Dolomites requires the ideal balance between the location, the light, and the weather. If you plan your trip in too much detail, it will be hard to adapt to the conditions and visit locations that work for the light you get on location. If you don’t do enough research on the possibilities, you may not know the right place to visit for the conditions.
However, a flexible itinerary where you stay in one or two locations, then choose the best spots each day from a list of options, can make your trip to the Dolomites incredibly rewarding. It will help you make the most of wet or cloudy conditions, and ensure you use the best light at the most exciting places.
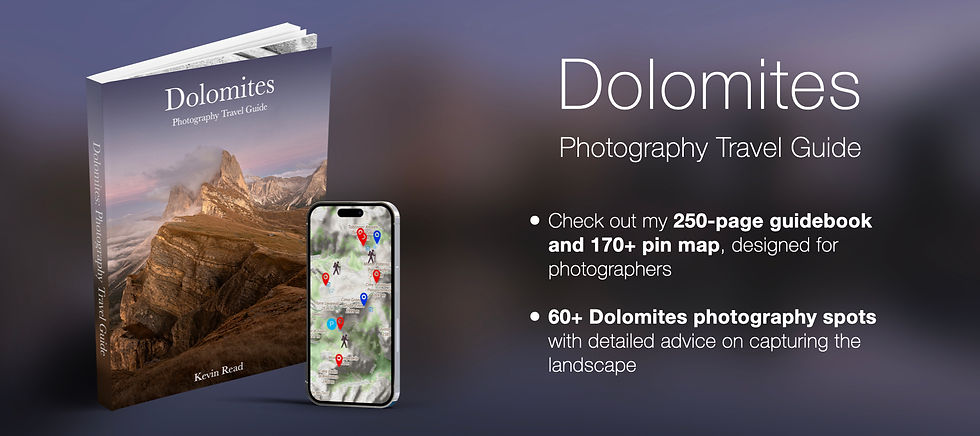
There is much more advice about how to approach mountain photography and find locations in the Dolomites on these pages, and you can find a complete guide to capturing the Dolomites with my photography travel guide and map linked above.

Comments